Setting Up Your Toolkit
Tung Nguyen
7 min read
This entire course runs on three small tools. You almost certainly have all of them already. They do not require an account, a special download for most systems, or a single line of programming. We will get them ready now and fire off your first request. This way, every practical exercise from here on out will just work.
The three tools
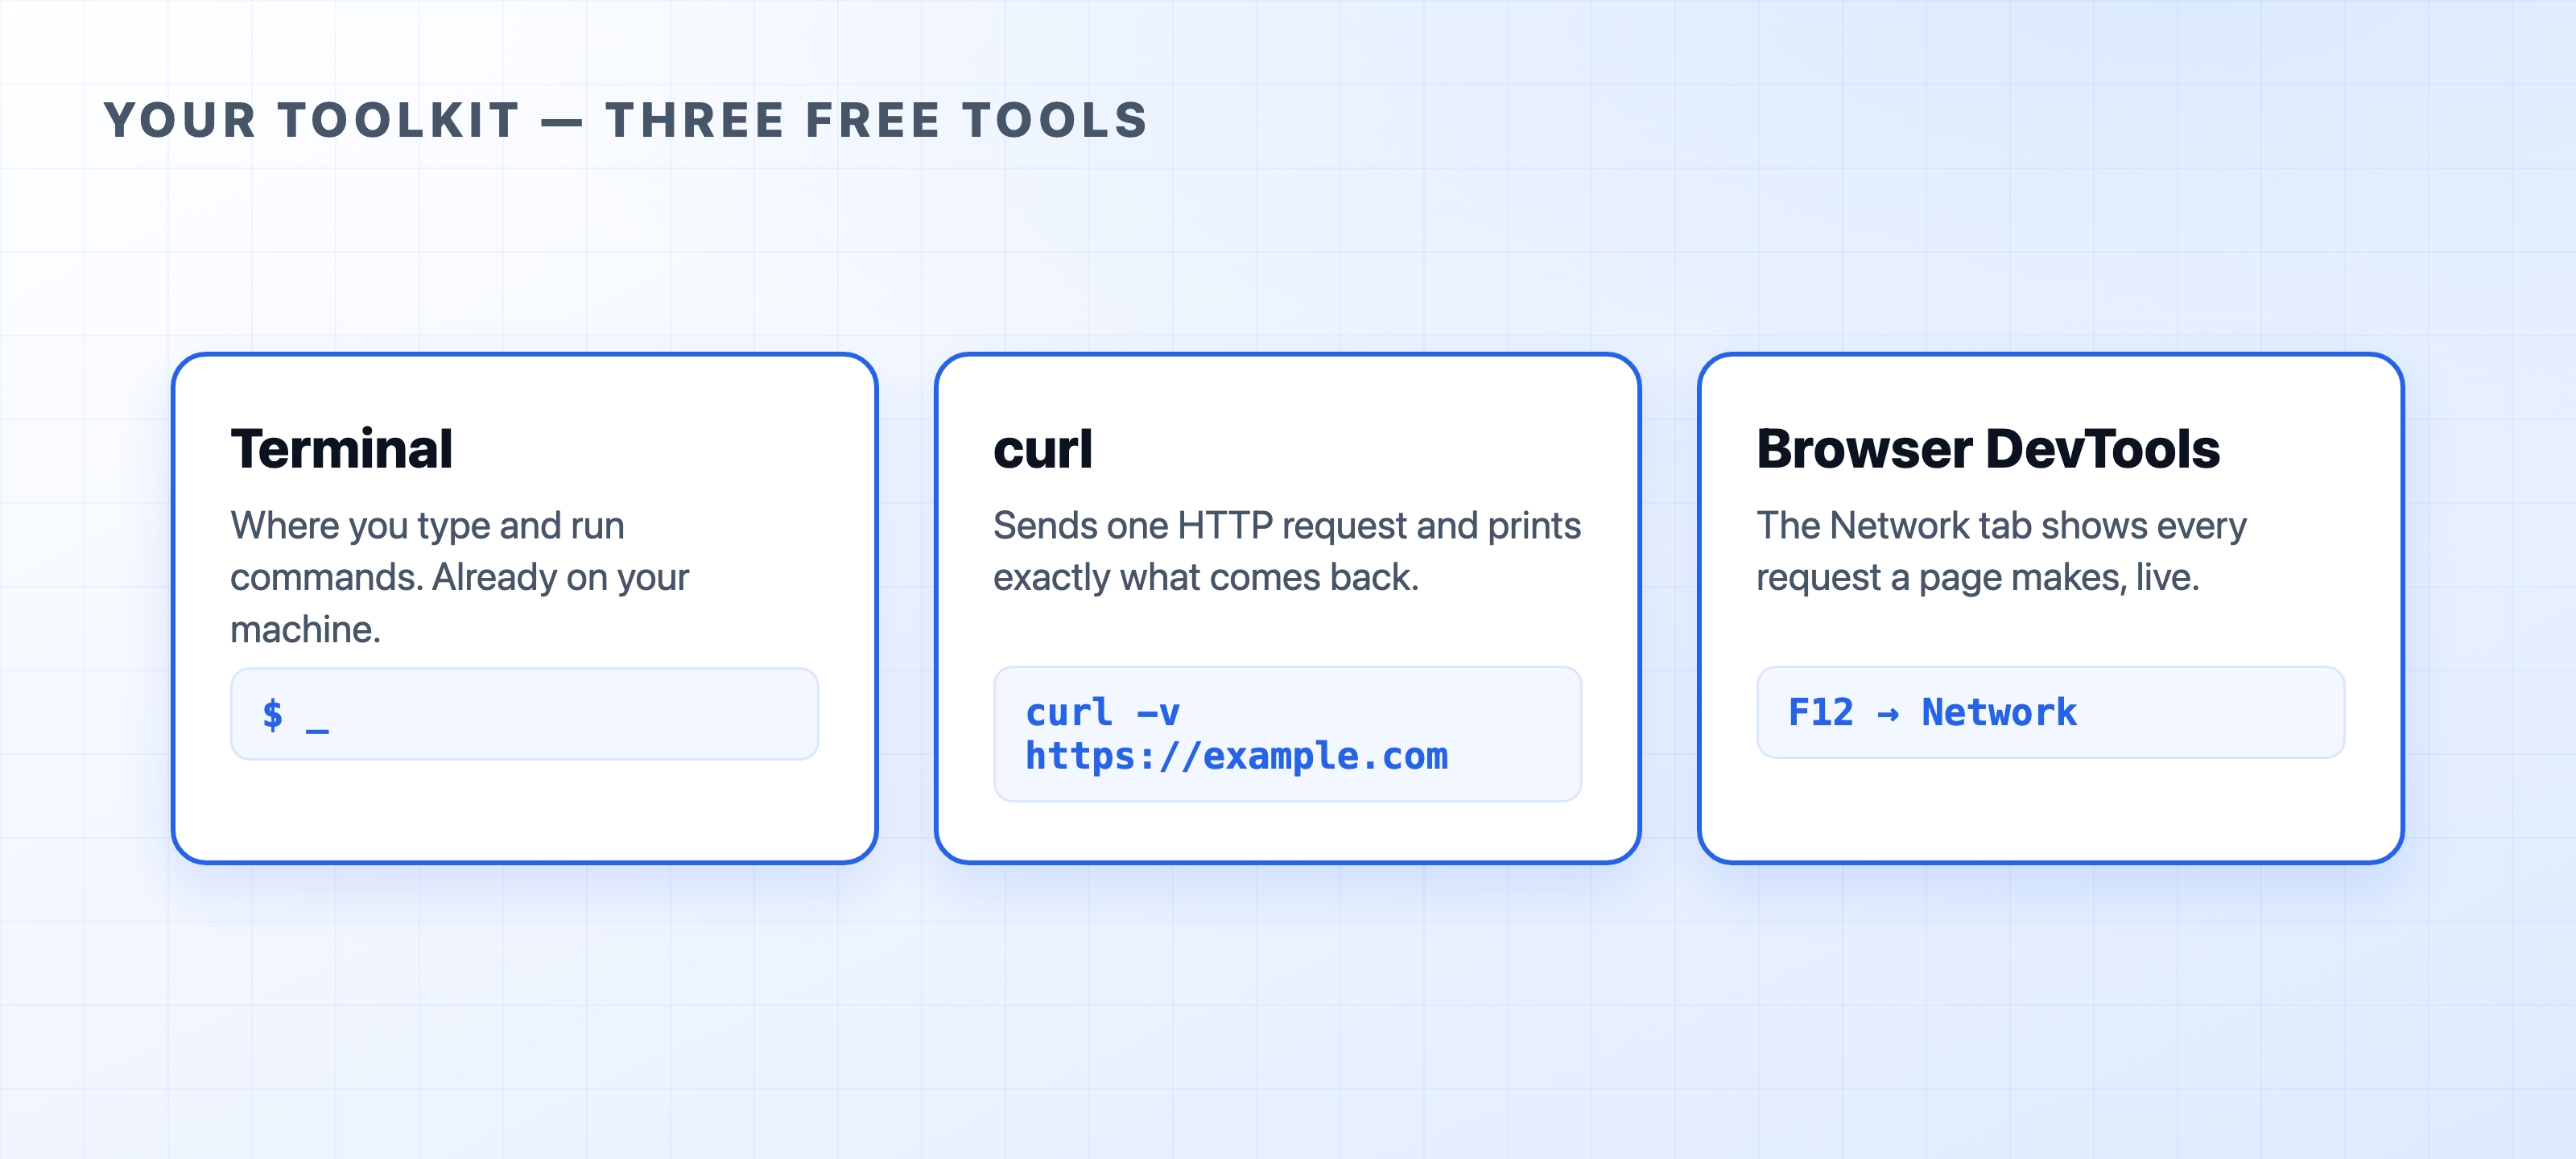
The terminal is where you type commands. On macOS, this is the Terminal app. On Linux, it is your usual shell. On Windows, you can use Windows Terminal, PowerShell, or a WSL shell. Everything we run from the command line happens right here.
Next is curl, a command-line HTTP client. It sends a request over the internet and prints exactly what comes back. Nothing is hidden. This makes it perfect for seeing how HTTP really works. It is the single tool we will use the most.
Finally, Browser DevTools is a feature already built into Chrome, Firefox, Edge, and Safari. Its Network tab lists every request a web page makes. It shows timing, headers, and status codes. While curl shows you one request in deep detail, DevTools shows you all of them at once.
Check that they're ready
Since curl ships with macOS, almost every Linux distribution, and modern versions of Windows, it is probably already installed on your computer. You can confirm this by running:
bashcurl --version
If you see a version line, you are set. If your system says the command is not found, install curl from curl.se/download or use your system's package manager, then run the command again.
DevTools needs nothing installed. Open it now and find the Network tab:
- Windows and Linux: press
F12, or right-click the page and choose Inspect. - macOS: press
Cmd + Option + I.
Leave the Network tab open, reload any web page, and watch the rows appear. Each row represents one HTTP request. We will return to this view often.